通过前一篇文章:Win7 下 VMware 虚拟机中安装 CentOS 服务器,我们得到了一个纯净的 CentOS 6.6 服务器,这里我们来介绍一下如何在 CentOS 上安装 LAMP 环境和 LNMP 环境。
- LAMP 环境的搭建
根据前文介绍,通过 PuTTY “远程”登录 CentOS 服务器后,请按照以下命令及配置分别安装:Apache、MySQL、PHP
1、安装 Apache
# yum -y install httpd
安装完成后,打开 httpd 的配置文件,
# vi /etc/httpd/conf/httpd.conf
把 ServerName 前的 # 去掉,并修改为:ServerName localhost 并保存,启动 httpd:
# service httpd start
在 Win 7(主机)中打开浏览器访问:http://192.168.211.132/(该 IP 为服务器的 IP 地址,不同的机器不同,如何获取请详看前文),得到如下 Apache 默认欢迎页: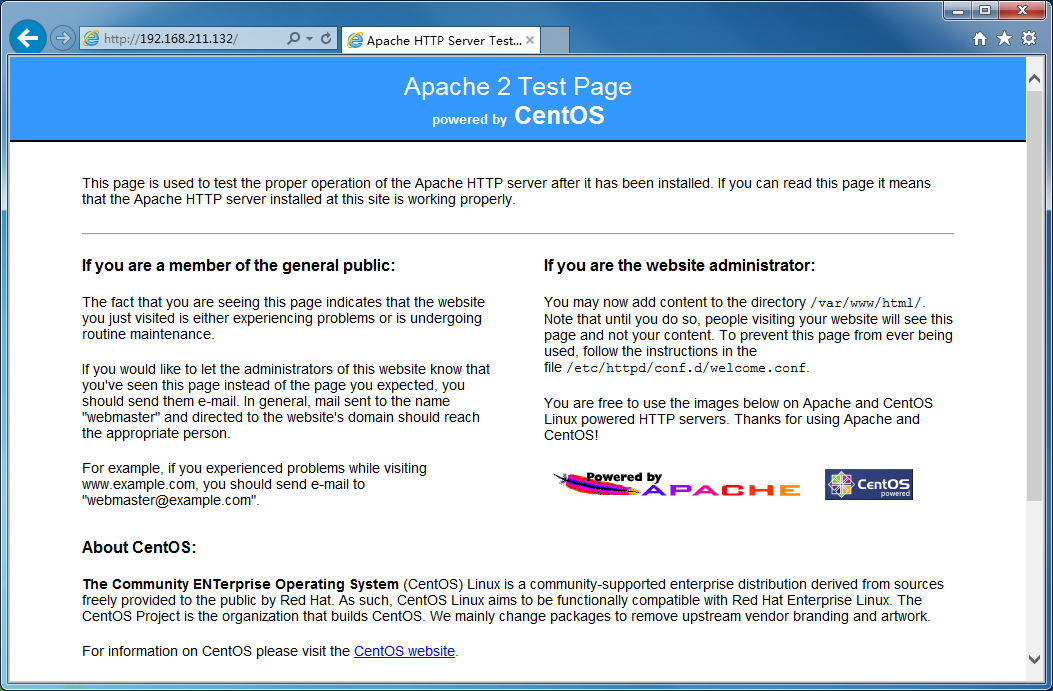
2、安装 MySQL
# yum -y install mysql mysql-server
安装完成后,启动 MySQL:
# service mysqld start
接下来开始初始化 MySQL,并按照提示设置 MySQL中的 root 用户的密码及其他配置:
# mysql_secure_installation
Enter current password for root (enter for none) (按回车)
Set root password? [Y/n]   (输入 Y:回车)
New password:              (输入新密码,回车)
Re-enter new password:     (再次输入新密码,回车)

Remove anonymous users? [Y/n]                (输入 Y:回车)
Disallow root login remotely? [Y/n]          (输入 Y:回车)
Remove test database and access to it? [Y/n] (输入 Y:回车)
Reload privilege tables now? [Y/n]           (输入 Y:回车)
PS:在第一次启动 MySQL 是,可能会有如下一条警告,提示机器名称不能被反解(resolveip):

解决方法:打开 hosts 文件,
# vi /etc/hosts
在 hosts 文件底部添加服务器IP(这里为:192.168.211.132)到机器名(这里为:TestServer)的对应,并保存 hosts 文件。
192.168.211.132 TestServer(添加这一行到 hosts 文件底部)
使用 resolveip 确认是否ok:
# resolveip TestServer
输出:IP address of TestServer is 192.168.211.132
Reference:http://www.tuicool.com/articles/RZJnim
3、安装 PHP
# yum -y install php
# yum -y install php-mysql
安装结束后,重启 Apache:
# service httpd restart
在 Apache 的默认网站目录添加 phpinfo.php 文件,
# vi /var/www/html/phpinfo.php
往 phpinfo.php 里添加如下测试代码:

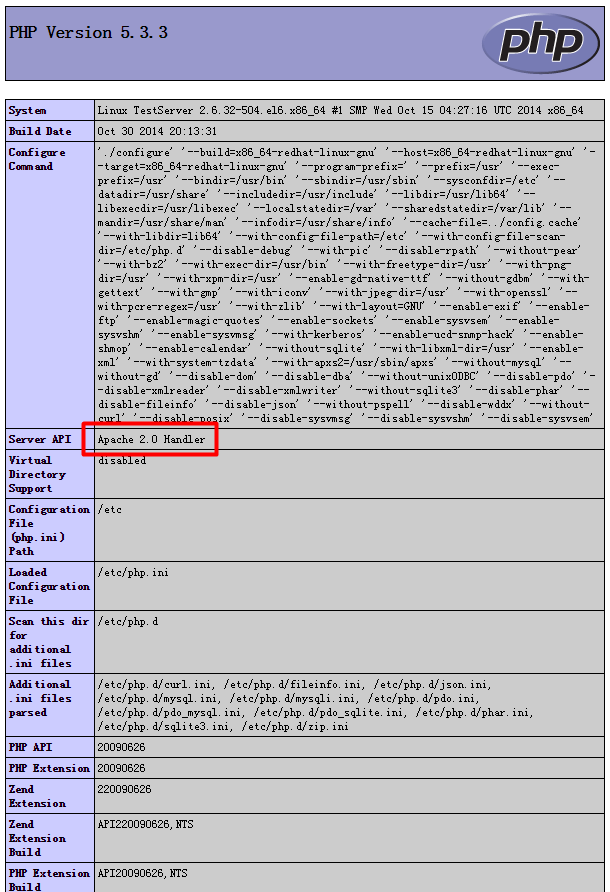
并保存退出后,在浏览器里访问:http://192.168.211.132/phpinfo.php(此处 IP 同上,为服务器 IP 地址,因机器而异),得到如下信息:
4、设置开机启动项
# chkconfig httpd on
# chkconfig mysqld on
至此,LAMP 环境安装完成!
- 安装 Nginx 和 PHP-FPM(FastCGI)
此步骤接上,为了避免冲突,先关闭 Apache:
# service httpd stop
默认情况下,CentOS 官方 rpm 源是没有 nginx 安装包的,需要手动添加,
# cd /etc/yum.repos.d/
# vi nginx.repo
往 nginx.repo 文件里添加如下代码:
[nginx]
name=nginx repo
baseurl=http://nginx.org/packages/centos/$releasever/$basearch
gpgcheck=0
enabled=1
保存后,即可开始安装 Nginx,
# yum -y install nginx
安装结束后,启动 Nginx,记得先关闭 Apache: service httpd stop,否则会出现冲突,
# service nginx start
打开浏览器访问:http://192.168.211.132/,得到如下 Nginx 默认欢迎页:

接下来安装 php-fpm 并启动它,用来解析 PHP 脚本,
# yum -y install php-fpm
# service php-fpm start
编辑 Nginx 的默认配置文件 default.conf,
# vi /etc/nginx/conf.d/default.conf
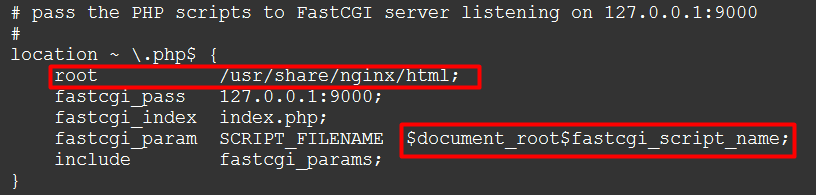
把 default.conf 文件中 # pass the PHP scripts to FastCGI server listening on 127.0.0.1:9000 这一行下面的 # 注释去掉,并修改 root 后面的目录为:/usr/share/nginx/html;(此目录为 Nginx 的默认网站目录),修改 SCRIPT_FILENAME 后的参数为:$document_root$fastcgi_script_name; 修改结果如下图所示:
保存退出后,重启 Nginx,
# service nginx restart
同样,在 Nginx 的默认网站目录下添加 phpinfo.php 文件,
# vi /usr/share/nginx/html/phpinfo.php
往 phpinfo.php 里添加如下测试代码:
并保存退出后,在浏览器里访问:http://192.168.211.132/phpinfo.php,得到如下信息:
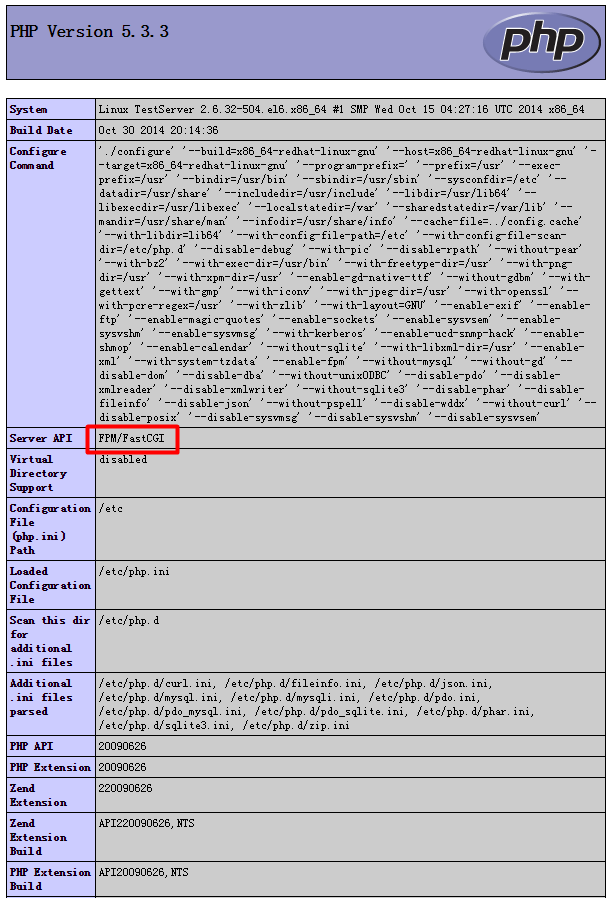
注意红框内与上述通过 Apache 解析 phpinfo.php 的区别,此处显示,这里 phpinfo.php 文件是由 FPM/FastCGI 模块解析的。
设置开机启动项
# chkconfig nginx on
# chkconfig php-fpm on
至此,LNMP 环境安装完成!
Reference:
http://frozensky.sinaapp.com/centos-6-5-lamp-install/
http://www.cnblogs.com/highend/archive/2013/03/06/centos6_3_install_nginx_1_2_7.html